How to attach hang tags depends above all on the product: a T-shirt, a pair of jeans, a sweater and a bag each have different "safe" points where a string can pass without leaving a mark. The right spot keeps the tag visible on the rail, protects the fabric and makes it easy for the customer to remove. The wrong spot means a hole in knitwear, a tag hidden in a fold, or a product that looks cluttered. This guide gives you a quick table by product, an explanation for each, and rules for ordering tags when there's more than one.
Quick table by product
| Product | Best spot | Method |
|---|---|---|
| T-shirt, top | Neck label or side-seam care label | String through the sewn label |
| Shirt | Cuff buttonhole or top buttonhole | String or ribbon through the buttonhole |
| Jeans, trousers | Back or side belt loop | Waxed cord, cotton string |
| Sweater, knitwear | Sewn care label or side seam | Safety pin with string |
| Dress | Back neck label or underarm | Narrow satin ribbon or string |
| Jacket, coat | Zip puller, buttonhole or neck label | String, longer loop |
| Swimwear, lingerie | Strap or adjuster ring | Elastic loop or string |
| Bag | Handle or handle ring | String or ribbon, longer loop |
| Hat, scarf | Sewn label or fringe | String, small round tag |


T-shirts and tops
The safest spot is the neck label – it's already there, and the string passes through it without touching the jersey. If the neck label is printed (no sewn label), use the care label in the side seam. The hang tag then hangs inside the neckline or at the side and is visible on the hanger. Avoid piercing thin jersey on the front – the hole stays visible.
Shirts
A shirt comes with a ready-made hole: the buttonhole. The string or narrow ribbon goes through the cuff buttonhole or the top one, leaving no trace. For folded, packed shirts, position the tag so it shows on the front of the fold.
Jeans and trousers
The classic spot is a belt loop – usually the back right or the side. The tag hangs over the back pocket or the waistband patch and is visible whether the jeans are folded or hung. Jeans are heavy and get pulled at fittings, so this is where sturdier board, waxed cord and a metal eyelet at the hole pay off.
Sweaters and knitwear
Mistakes are costliest here: every pierced loop can start to unravel. Attach only through the sewn care label or the side seam, ideally with a safety pin and string rather than a tagging gun. A safety pin slips between the yarns without breaking them. You'll find more on knitwear in the Labels section of our blog.
Dresses and delicate fabrics
Silk, satin and chiffon show every hole. Use the back neck label or the underarm, with a narrow satin ribbon or a soft string. Keep the tag light – heavy board drags a delicate fabric down.
Jackets and coats
Handy points are the zip puller, a front buttonhole or the neck label. If the tag hangs from the zip, allow a longer loop so it sits in front of the jacket rather than catching in the teeth.
Bags, swimwear and accessories
- Bags – around the handle or through the handle ring. The loop must be long enough for the tag to hang freely.
- Swimwear and lingerie – around the strap or through the adjuster ring, never through the stretch fabric.
- Hats and scarves – through the sewn label or around the fringe; small round tags work well.
What to attach with
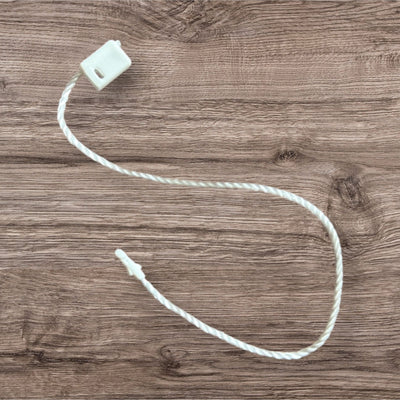
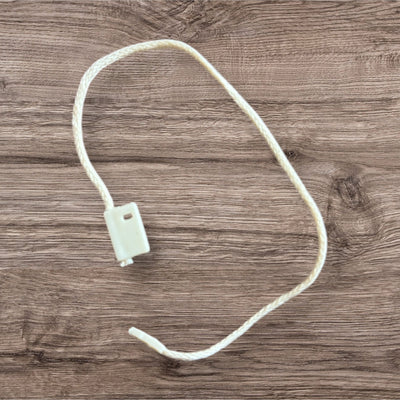
- String – universal, right for almost everything. See our strings for hang tags in various colours and lengths.
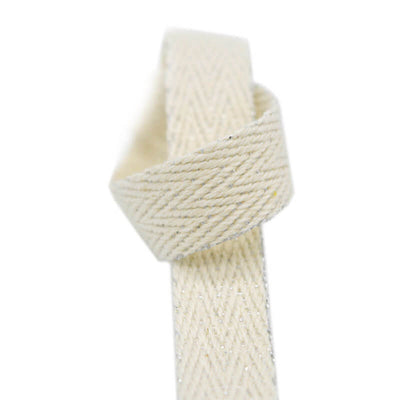
- Ribbon – for womenswear, gifts and premium lines.
- Safety pin – for knitwear and delicates; pin through a label or seam only.
- Plastic fastener with a tagging gun – for high volume; always through a seam or label, never through the main fabric.
Order when there are several tags
A garment often carries a branded tag, a material tag (for organic cotton or a special technology, say) and a price ticket. The rules:
- Branded tag at the front. It's the face of the brand and should be seen first.
- Extra information next: material, technology, collection.
- Price and barcode at the back, so the cashier finds them easily without covering the brand.
- One string for all of them. Several strings in different places look chaotic.
- Tags of equal size, or graded – largest at the back, smallest at the front, so all are visible.
Tip: before tagging the whole batch, hang one garment and photograph it from the front and in profile. If the tag doesn't show in the photo, it won't show in the shop either.
Think about removal too
Customers cut tags off at home, often quickly and with kitchen scissors. If the loop is too short or tight, the blades pass dangerously close to the fabric. Leave at least 3–4 cm of free string between garment and tag. With a safety pin, the customer simply unclips it – the gentlest option for expensive knitwear.
Checklist
- The string passes through a seam, label, buttonhole or belt loop – not the main fabric.
- The tag is visible both on the hanger and when folded.
- The loop is long enough to cut the tag off without nicking the fabric.
- The tag isn't heavier than the fabric can carry.
- Every piece of the style is tagged in the same place.
Bul-tex supplies strings for hang tags, ribbons and metal eyelets, and makes custom hang tags to order – get in touch about your collection. We ship with DHL Express across the EU.