Fold over elastic, or FOE, is the fastest way to finish a knit edge with a clean, soft, stretchy binding: no hem, no separate binding strip and no overlocked edge inside. That's why it's a favourite for lingerie, babywear, hair ties and light sports tops. In this guide we explain what sets it apart from ordinary elastic, then walk through sewing it step by step, with concrete machine settings and fixes for the most common problems.
What fold-over elastic is
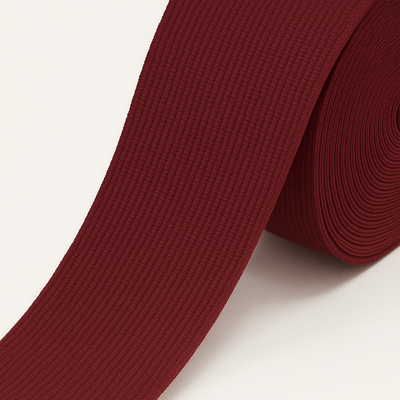
Fold-over elastic is a flat knitted elastic with a recessed channel running down the centre of its length. That line is pre-formed, and the elastic folds exactly along it to wrap the fabric edge top and bottom, much like bias binding, only stretchy. Usually one side is shiny and the other matte. The shiny side is typically the face, but that's your call.
The most common widths are 15–25 mm unfolded, so the finished binding is 7–12 mm. A narrower binding looks delicate on lingerie, while a wider one suits hair ties and children's clothing.
Soft vs standard FOE
There's a softer version with more stretch, made for knickers and babywear where the elastic sits right against the skin. Standard FOE is firmer and holds the edge of heavier knits or hair ties better.
 Sewing thread red No. 80
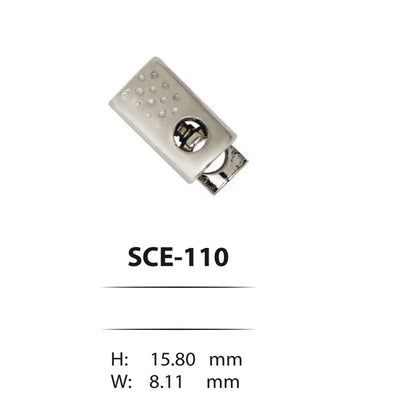
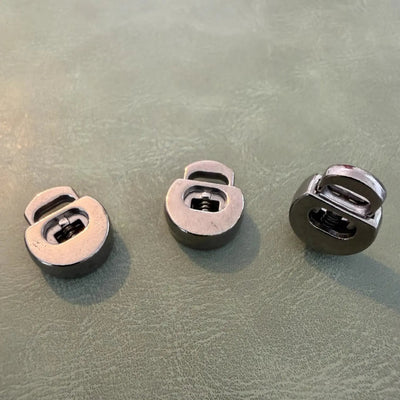
 Metal cord and elastic stoppers 110 – single hole (5 mm), dotted design
 Sewing threads white no. 120
Where it's used
- Edges of knickers, lingerie and pyjamas
- Necklines and sleeves on baby bodysuits
- Hair ties and scrunchies, where the binding is simply knotted
- Necklines and armholes on sports tops and vests
- Edges of knit pouches, cases and masks
For necklines and armholes on sports tops and underwear, stretch bias binding is also used. It works on a similar principle but is cut from knit fabric on the bias. FOE is quicker because there's no cutting.
What you need
- Fold-over elastic in a suitable width
- A jersey or stretch needle, size 70–80
- Polyester thread, which stretches better than cotton
- Clips instead of pins, so you don't leave holes
- A scrap of the same fabric to test settings
Machine settings
| Stitch | Width | Length | When |
|---|---|---|---|
| Zigzag | 3–4 mm | 1.5–2.5 mm | All-round, visible decorative stitch |
| Three-step zigzag | 4–5 mm | 0.5–1 mm | Flatter and stretchier; good for lingerie |
| Twin needle | 4 mm needle spacing | 3 mm | Coverstitch look |
| Coverstitch machine | n/a | 2.5–3 mm | Production, the most professional finish |
Don't use a straight stitch: it will snap the first time the edge is stretched.
Step by step: the two-pass method
This is the safest method for beginners and gives an even binding.
- Trim the edge. FOE replaces the seam allowance, so the edge must sit on the finished line. If your pattern includes an allowance, cut it off.
- Work out the length. On straight edges, don't stretch the elastic. On curves such as necklines and leg openings, cut the elastic 5–10% shorter than the edge so it hugs the body. On knicker legs, stretch slightly more at the back than at the front.
- First pass. Open the elastic flat and lay the fabric on the inside face, with the fabric edge right up against the centre channel. Zigzag close to the outer edge of the elastic, stretching the elastic evenly but not the fabric.
- Fold. Fold the elastic over the fabric edge along the channel. The face side is now on top.
- Second pass. Zigzag again close to the edge of the folded half, catching both layers. Stretch with the same tension as the first pass.
- Steam, don't press. If the binding looks slightly wavy, hover steam over it without pressing down. The elastic relaxes and the edge flattens.
The one-pass method
More experienced sewists fold the elastic over the edge straight away and stitch both layers at once. It's faster, but the bottom layer can wander off. It helps to steam the fold lightly first (never press a hot iron directly on it) and use an edge-guide foot. In production, FOE is applied on a coverstitch machine with a folder attachment that folds the elastic automatically.
Joining the ends
- Closed loop (leg, neckline): apply the binding while one garment seam is still open, then sew the seam through the binding and tack the seam allowances down.
- Loop without an open seam: join the elastic into a ring with a 5 mm seam, open the allowances, then apply the ring.
- Hair ties: simply knot the ends. Seal cut ends with a dab of clear fabric glue if they fray.
Common problems and fixes
- Wavy binding: the fabric was stretched along with the elastic, or the elastic is too long. Stretch only the elastic.
- Skipped stitches: switch to a fresh stretch needle.
- Bottom layer not caught: switch to the two-pass method or stitch further in.
- Neckline gapes away from the body: the elastic wasn't short enough on the curve; increase the difference to 10–15%.
FOE in production
In production, fold-over elastic is applied on a coverstitch or specialised machine with a folder that folds the band and feeds it evenly. The key to consistent results is constant tension: the machine is set up with differential feed or an elastic metering device so every piece gets the same binding length. Before a run, sew 3–5 pieces and measure the neckline and leg openings both relaxed and stretched. If an opening is too tight to get on, reduce the tension. Watch the colour too: FOE is visible, so order the whole quantity from one batch.
Fold-over elastic and Bul-tex
Bul-tex manufactures and supplies flat woven and knitted elastics from 1 to 10 cm wide, in white, black and colours. We don't currently stock fold-over elastic. For casings and enclosed elastic in lingerie and kidswear, use the soft knitted elastic in our elastics collection, and for sewing, our polyester threads. If you need FOE for a production run, contact us through our contact page with width, colour and quantity. You'll find more practical sewing tips in our elastic guides.