Embossed hang tags – raised when embossed, pressed in when debossed – are the finish customers feel with their fingertips before they even read the brand name. Embossing uses no ink, adds no plastic and makes even the plainest kraft tag look expensive. But it has clear physical limits: depth, line weight, board type and the mark it leaves on the back. This article goes inside the process – how the die is made, what happens in the press and what you can realistically ask your printer for.
How it's made, step by step
- Vector artwork. The emboss area is supplied as a separate layer in a solid 100% colour. Every line in the file becomes a metal edge in the die.
- Making the die. The male die carries the raised image and the female die (the counter) the recessed one. The two close into each other with the board in between.
- Press set-up. The die is gently heated – warmth softens the fibres and gives cleaner edges. Pressure is dialled in on test sheets.
- Pressing. Each sheet goes through the press, normally after printing and before die cutting.
- Die cutting and hole punching. Tags are cut to shape and the string hole is punched.
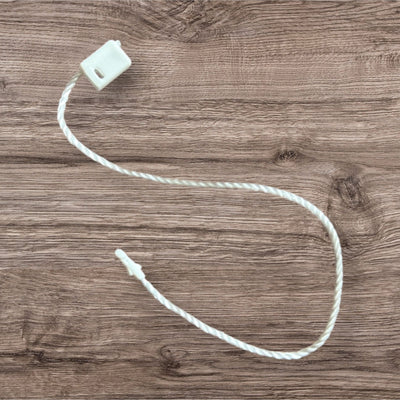
 String fasteners for cardboard tags 01
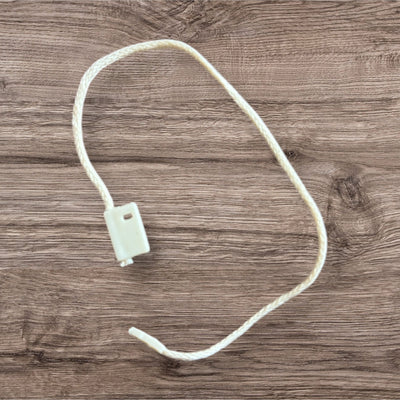
 String ties for cardboard tags 02
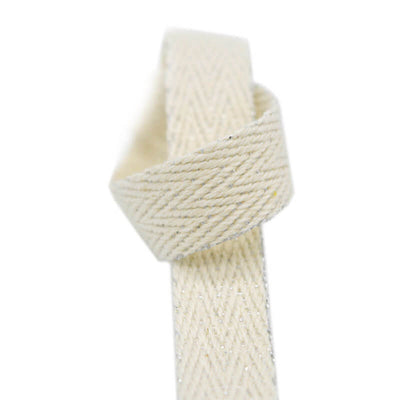
 Cotton herringbone tape ecru HR0002
Die materials
| Die | Characteristics | When it's used |
|---|---|---|
| Magnesium | Quick to etch chemically, lower cost | Flat single-level emboss, small to medium runs |
| Copper | Harder, finer detail | Longer runs, crisper lines |
| Brass | Most durable, machine-engraved | Sculpted (multi-level) emboss, repeat orders over years |
The die is a one-off investment. If your logo doesn't change, it's kept and reused for later orders – which is why the unit price drops on the second run.
Embossing or debossing?
- Embossing: the logo rises above the surface. It catches light and shadow and reads from a distance. Good for larger logos and brands with an expressive identity.
- Debossing: the logo sinks into the board. A quieter, more restrained effect favoured by minimalist brands. It pairs easily with ink or foil laid in the bottom of the impression.
Blind, registered and combination emboss
Blind emboss
Emboss with no ink and no foil – just shape and shadow. The most discreet and "clean" option, and particularly effective on through-dyed coloured or black board.
Registered emboss
The emboss lines up exactly with a printed element – for example a logo printed in white that is also raised. It needs precise registration; tolerance is around 0.5–1 mm, so avoid very fine printed outlines around the embossed shape.
Foil plus emboss (combo)
A single die lays the foil and raises the logo at the same time. The result is a metallic, three-dimensional mark – the most luxurious option, with the most expensive die.
Which board embosses best?
Embossing deforms the fibres, so the board needs bulk and softness:
- Uncoated, cotton or textured board from 400 gsm upwards – the deepest, cleanest emboss. Boards above 400 gsm also feel luxurious in their own right.
- Kraft – embosses well and looks natural, though edges are softer.
- Coated (gloss) board – the coating can crack along the edge of the emboss.
- Laminated board – possible, but with deep embossing the film may lift or wrinkle.
- Thin board below 300 gsm – shallow emboss that flattens easily in packing.
What depth is realistic?
On hang tags, emboss height is typically a few tenths of a millimetre. The thicker and softer the board, the higher you can go without tearing it. Ask for too deep an emboss on thin board and you'll get cracks along the edges. The rule: the board sets the depth, not your wish list.
The mark on the back – and how to hide it
On a single-ply tag, a raised emboss on the front is always a dent on the back. If the back carries price, size or a barcode, that's a problem – text over the dent is harder to read and the barcode may not scan. Solutions:
- Duplex (mounting): two boards are laminated together after embossing. The back stays smooth and the tag becomes thicker and more luxurious.
- Layout: keep back-side information well away from the emboss zone.
- Deboss instead of emboss: the back gets a bump, which is less disruptive.
Design rules
- Lines no thinner than about 0.5 mm, with gaps between elements at least as wide.
- Embossed text from about 8–10 pt upwards, in solid typefaces.
- No fine serifs or hairlines – they fill in and vanish.
- Keep the emboss at least 3–5 mm from the cut line and from the hole.
- No gradients – embossing is yes or no, unless you use a sculpted brass die.
Troubleshooting
- Emboss too shallow: the board is too thin or too hard – change the board, not the pressure.
- Cracked edges: too much pressure or a gloss coating – reduce depth or switch board.
- Emboss out of register with print: registration tolerance is tighter than the design allows – increase the spacing.
- Emboss flattened in transit: tags packed under pressure – ship them in boxes rather than tight shrink-wrap.
What to include in your enquiry
- Vector artwork (AI, PDF or EPS) with the emboss area on its own layer.
- Effect type: emboss or deboss; blind, registered or foiled.
- Preferred board and weight – or at least the feel you're after.
- Tag size, shape, hole position and diameter.
- What goes on the back, so you can decide whether duplex is needed.
- First-order quantity and expected repeats – they decide which die makes sense.
Bul-tex makes custom hang tags, including embossed and foiled designs – contact us with your logo and preferred board. For a natural finish, pair an embossed tag with a hang tag string or a cotton herringbone tape. There's more about labels and tags in the Labels section of our blog.