

Iron-on vs sew-in labels is one of the first practical questions a new clothing brand runs into. Heat-applied labels look like the easy option: position, press, done, no needle or thread required. But how many washes do they really survive compared with a classic sewn label? And where do peel-and-stick labels fit in? Below we compare the three attachment methods on the criteria that actually matter in production – durability, comfort, appearance, fabric compatibility and cost – and explain why most garment makers end up using heat for positioning and stitching for permanence.
The three methods in brief
Sew-in labels are stitched along their edges or caught in a garment seam (side seam, collar, hem). This is the industry standard for brand labels and mandatory fibre-content labels.
Iron-on (heat-seal) labels carry a layer of thermoplastic adhesive on the back. With heat – typically around 150–170 °C – plus pressure for 10–20 seconds, the adhesive melts into the fabric structure and locks the label in place once it cools.
Stick-on labels use a pressure-sensitive adhesive with no heat at all. They are mostly used for naming children's clothes, not for brand labels.
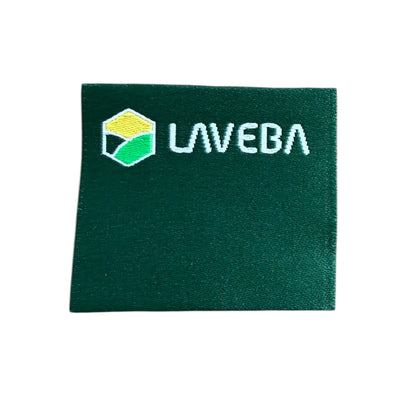
 Woven label 7 cm x 7 cm – Logo and text
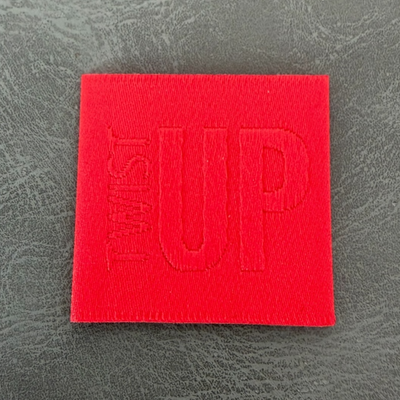
 Jacquard woven label LBL 0034 3 x 3 cm – embossed letters, soft premium design, with logo
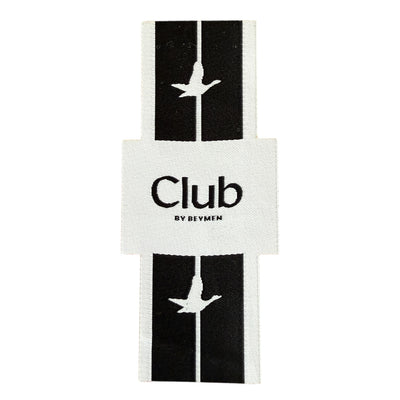
 Woven label 3.4 cm x 4.4 cm - brand, logo
Side-by-side comparison
| Criterion | Sew-in | Iron-on | Stick-on |
|---|---|---|---|
| Wash durability | Excellent – lasts as long as the garment | Good, but edges can lift after repeated washing | Low to moderate, depends on the adhesive |
| Tumble dryer and hot washes | No issue | Risky – heat softens the adhesive | Risky |
| Application speed | Slower, needs a sewing machine | Fast, iron or heat press | Fastest |
| Softness and comfort | Soft and flexible | Stiffer patch where the glue is | Stiff patch |
| Stretch fabrics | Yes, with the right stitch | Limited – adhesive doesn't stretch | No |
| Synthetics and delicates | Yes | With care – risk of shrinkage or shine marks | Limited |
| Visible from outside | A thin stitch line if sewn through the fabric | Invisible | Invisible |
Why heat-seal adhesive gives up over time
Iron-on adhesive is a thermoplastic polymer. It melts when heated – which is exactly why every later exposure to heat, whether a 60 °C wash, a dryer cycle or ironing, softens the bond again. Add the mechanical rubbing inside the drum, fabric stretch and detergents, and the label edges gradually start to lift. It rarely happens in the first few washes; it shows up after many cycles, and sooner on:
- smooth, closed-surface fabrics (satin, nylon, membranes) where the glue has nothing to grip;
- jersey and stretch fabrics that move underneath a rigid bonded area;
- garments that go through the tumble dryer regularly;
- labels applied with too little heat, pressure or dwell time.
A sewn label has none of these weaknesses. Stitching is a mechanical bond, so it lasts as long as the thread and the garment do.
When iron-on makes sense
- Unlined garments where stitching would show on the outside – a T-shirt where you don't want a stitch line across the back, for example.
- Small runs and handmade pieces where there is no convenient seam to catch the label in.
- Temporary positioning – the label is pressed on so it sits exactly in place, then stitched. This prevents it from drifting or skewing under the presser foot.
- Name labels for school uniforms and kids' clothes, where the goal is practical rather than brand presentation.
When to stick with sewing only
- Brand labels on outerwear, coats, denim and anything that has to look good for years.
- Mandatory fibre-composition and care labels – under EU Regulation 1007/2011 they must be durable and legible for the life of the product.
- Knitwear and high-stretch sportswear.
- Babywear, where a stiff bonded patch can irritate sensitive skin.
Practical tip: if you do use a heat-seal backing, also tack down the two short ends with a few stitches. Almost every failure starts at the corners.
The hybrid approach: heat plus stitch
Production lines often combine both. The label has a light heat-seal backing so the operator can press it into exactly the right spot using a template, and it is then stitched along the short ends or all the way round. You get identical placement on every piece and the durability of a sewn label. The backing adds only a small amount to the unit cost but saves real time at the attachment stage.
How to apply an iron-on label properly
- Check the fabric tolerates the temperature – test on an inside seam or an offcut first.
- Press the area beforehand to remove moisture and creases.
- Place the label adhesive side down and cover it with a thin cotton cloth or a Teflon sheet.
- Press firmly without sliding the iron for the time the backing supplier recommends (often 10–20 seconds).
- Turn the garment over and heat from the reverse side too.
- Let it cool completely before checking the corners, and don't wash it for at least 24 hours.
Which label to choose for your brand
For a brand label on a garment that will be washed many times, we recommend a woven jacquard or printed label that is sewn in. Our woven, satin and canvas labels are made to the customer's design and intended for stitching – the soft edges and flexible structure don't get in the way of wearing. If you'd like a heat-seal backing for easier positioning, mention it in your enquiry and we'll confirm whether it's possible for that specific label. For attachment, use a strong polyester sewing thread matched to the label or garment colour.
FAQ
How many washes does an iron-on label last?
It depends on the adhesive, the fabric and the wash routine. Properly applied and washed at up to 40 °C without tumble drying, an iron-on label can last a long time, but edges lift sooner with hot washes and drying. A sewn label has no such limit.
Can I use iron-on labels on polyester or sportswear?
Yes, carefully. Synthetics can shrink or show a shiny mark at high heat. Test first and use a lower temperature for a longer dwell time.
Is a satin label with heat-seal backing a good idea?
Satin is thin and smooth, so the glue can show through or the label can pucker. Stitching is the safer choice for satin.
Can the mandatory composition label just be glued?
The regulation requires durable attachment and legibility. In practice manufacturers almost always sew the composition label into a side seam so there's no risk of it falling off.
Planning a collection and unsure which label type and attachment method to go for? Browse more guides in our labels blog or get in touch – we'll help you choose the right label and size for your fabric and use case.