Knowing how to remove a snap fastener without damaging the garment comes in handy – the snap has worked loose, the spring no longer grips, the finish has worn off or you simply want a different colour. Four-part metal snaps are closed by flaring the post, so they cannot be unscrewed and have to be taken off mechanically. Here is how to do it safely and how to fit the new snap.
What you need
- Side cutters or small pointed pliers
- A flat screwdriver or a small blade to prise with
- Thread snips (for sew-on snaps)
- A new snap of the same system, or a larger size
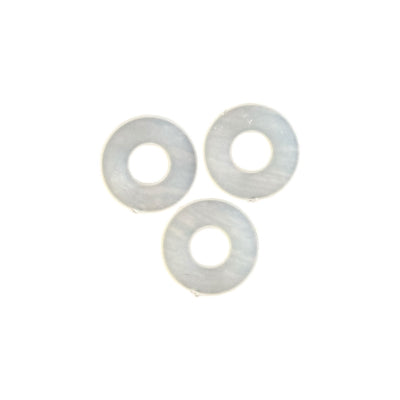
- Interfacing or a patch for reinforcement, plus plastic washers if needed
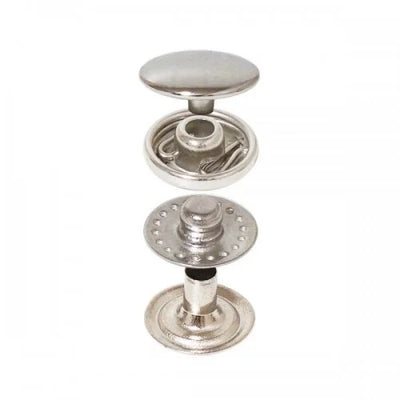
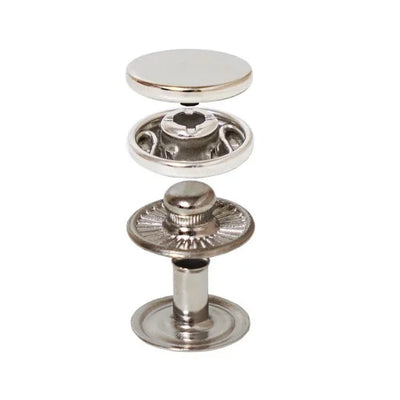
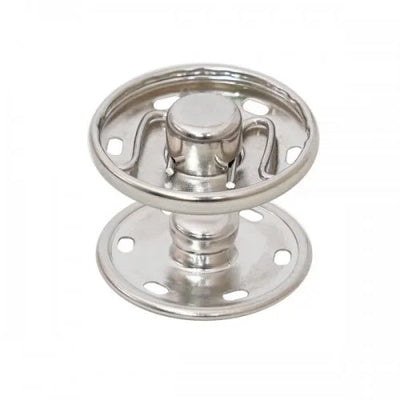
 Classic snap fasteners SB 0003 Nickel Free – 4-piece set
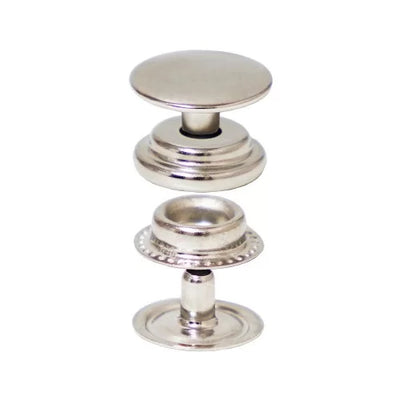
 Snap fasteners 0009 – standard
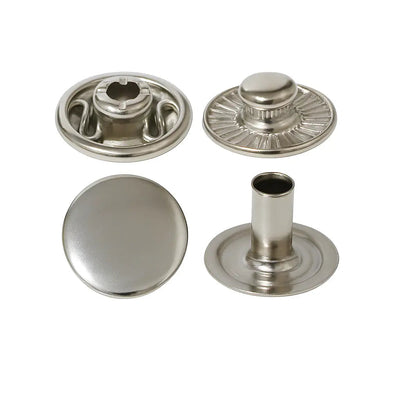
 Snap fasteners 0012 - 61 system / cap
Removing a four-part snap
- Work from the inside. Remove the lower part (socket or stud) first rather than the decorative cap – you are less likely to scratch the right side of the garment.
- Slide a screwdriver between the metal ring and the fabric and gently lift the edge.
- Grip the edge with cutters and twist or cut it until the post comes free.
- Pull the cap out from the front. If the post stays in the fabric, draw it out with pliers.
- Repeat for the other half of the snap on the opposite edge.
With prong ring snaps (toothed ring), open the prongs one by one with a screwdriver and lift the ring out – knit fabric usually stays almost untouched.
Removing a sew-on snap
Sew-on snaps are the easiest: snip the threads on the inside without catching the fabric, pull out the remnants and lift the snap off. Sew the new one in the same spot, going through each hole 4–6 times.
Fitting the new snap
If the hole is still small and the fabric is sound, set the new snap in the same place. If the hole has stretched or the fabric is torn:
- Fuse a small circle of interfacing on the inside or stitch on a small patch.
- Choose a larger diameter – for example 15 mm instead of 12.5 mm – so the cap covers the damaged area.
- Use a plastic washer under the lower part to spread the load.
- If the spot is badly damaged, shift the snap 3–5 mm and move the opposite half to match.
Important: the stud and socket must come from the same system and maker. Mixing different models often leaves you with a snap that will not close or pops open by itself.
When not to refit in the same spot
Not every snap is worth refitting in the same place. If the fabric around it is worn over a wide area, torn towards the edge, or the garment is a very fine knit, setting a new snap may tear it further. In those cases a sew-on snap, which does not pierce the fabric, is a better option – or reinforce the whole placket with a fresh strip of fabric and interfacing.
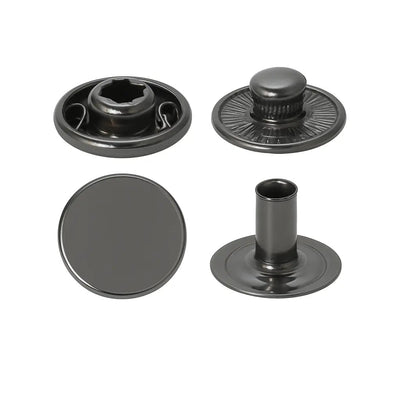
If you are replacing every snap on a garment, take the chance to change its look – swap silver for gunmetal or black oxide, for example. Because the old holes stay hidden under the caps, the new model should be the same size or larger. Note down the size and system of the old snap before you throw it away so you order the right replacement.
Frequently asked questions
Can I replace just one half of the snap?
In theory yes, but only if you can find the exact same model. Replacing both halves is the safer option.
How do I tighten a snap that will not hold?
On spring models, gently squeezing the spring with pliers sometimes helps, but it is only a temporary fix. Replacing the snap is best.
Will there be a hole after removal?
Yes, a small hole from the post remains. The new snap covers it, and you can reinforce it from the inside with interfacing if needed.
Find replacements in our snap fasteners collection, or if you fancy a different closure, have a look at the buttons and accessories at Bul-tex.