How do you sew a label onto clothing so it sits flat, stays put and doesn't itch? The answer depends on the label style – straight cut, centre fold or end fold – and on whether you sew by hand or by machine. Below you'll find step-by-step instructions for each option, plus advice on thread, needles and placement.
What you need
- a label (woven, satin or canvas);
- polyester thread matching the label or the garment – for example size 120 for light and medium fabrics;
- a machine needle size 70–80 for jersey and light wovens, size 90 for denim (use a ballpoint needle on knits);
- pins or clips, tailor's chalk and an iron.
Press the label before sewing – it will lie flat and be much easier to position.
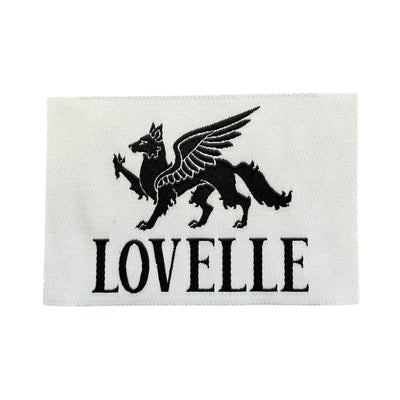
 Woven label 4.5 cm x 3.4 cm - brand logo
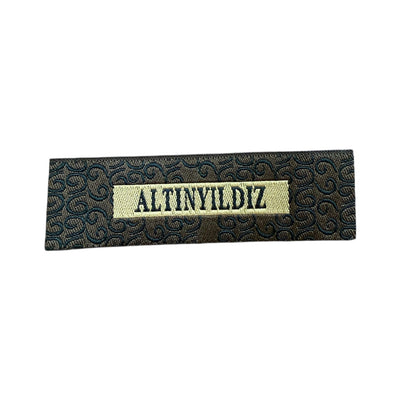
 Woven label 7.5 cm x 4 cm - print on fabric
 Woven label 10 cm x 9 cm – folded, double-sided
Straight-cut label
- Fold the short ends under by 5–8 mm and press. With heat-sealed edges this step is optional.
- Place the label and secure it with two pins.
- By machine: use a straight stitch 2–2.5 mm long all the way round, about 1–2 mm from the edge. Start in the middle of a long side rather than at a corner so the label doesn't shift.
- By hand: use a slip stitch (blind hem stitch) along the edges, 3–4 stitches per centimetre.
- Secure the end with 2–3 backstitches and trim the threads.
If you don't want stitching to show on the right side of the garment, sew down only the two short ends.
Centre-fold label (sewn into a seam)
This is the easiest option for a neck or side-seam label:
- Fold the label in half with the printed or woven side facing out.
- Slip the open ends into the seam between two layers of fabric – for example between the collar and the back, or between front and back in the side seam.
- Leave 8–10 mm of the label inside the seam allowance.
- Sew the seam as usual – the label is caught together with the fabric.
If the garment is already finished, unpick 2–3 cm of the seam, insert the label and stitch it closed again.
End-fold label
Both ends come pre-folded underneath. Position the label on the back below the neckline, 1–1.5 cm under the collar seam, and stitch only across the two folded ends. You get a clean finish and the label stays flexible.
On jersey (T-shirts, sweatshirts), don't stretch the fabric as you sew – place a sheet of paper or tear-away stabiliser underneath and remove it afterwards. The seam won't pucker and the neckline keeps its shape. On knits and very stretchy fabrics, it is better to hand-sew the label along the short ends only, with a relaxed stitch.
How to stop a label from itching
- Stitch all sides down so no corners stick out.
- On knitwear, use a soft satin or canvas label rather than a stiff one.
- Don't singe the edges with a lighter – it leaves hard, scratchy beads.
- Place the care label in the side seam, not at the neck.
Frequently asked questions
Can I iron on a label instead of sewing it?
Iron-on labels and tapes exist, but they tend to peel off after repeated washing. For woven and satin labels, sewing is by far the most reliable method.
What colour thread should I use?
If the stitching goes through both label and garment, choose a colour that blends with the garment on the right side. If you only stitch along the label edge, match the label instead.
How far below the collar should a label go?
Usually 1–2 cm below the collar seam, centred on the back.
Choose a label from our labels collection and matching thread – and for the finishing touches, take a look at our ribbons and tapes.